Elementor is a WordPress page builder that lets you create pages visually, without writing code. You drag elements onto a canvas, arrange them, style them, and publish. Over 10 million websites use it.
If you're just getting started, this guide walks you through everything from installation to building your first page. No fluff, just the steps.
Installing Elementor
Before anything else, you need a WordPress site. If you don't have one yet, pick a hosting provider (we recommend Hostinger for most WordPress projects) and install WordPress through their dashboard.
Once WordPress is ready, here's how to add Elementor:
- Log into your WordPress admin panel
- Go to Plugins in the left sidebar
- Click Add New
- Search for "Elementor"
- Click Install Now on "Elementor Website Builder"
- After installation, click Activate
That's it. Elementor is now available on your site. You'll see a new "Elementor" menu item in your sidebar.
If you want the Pro version, buy it from elementor.com, download the zip file, go to Plugins > Add New > Upload Plugin, select the file, install and activate.
Understanding the editor
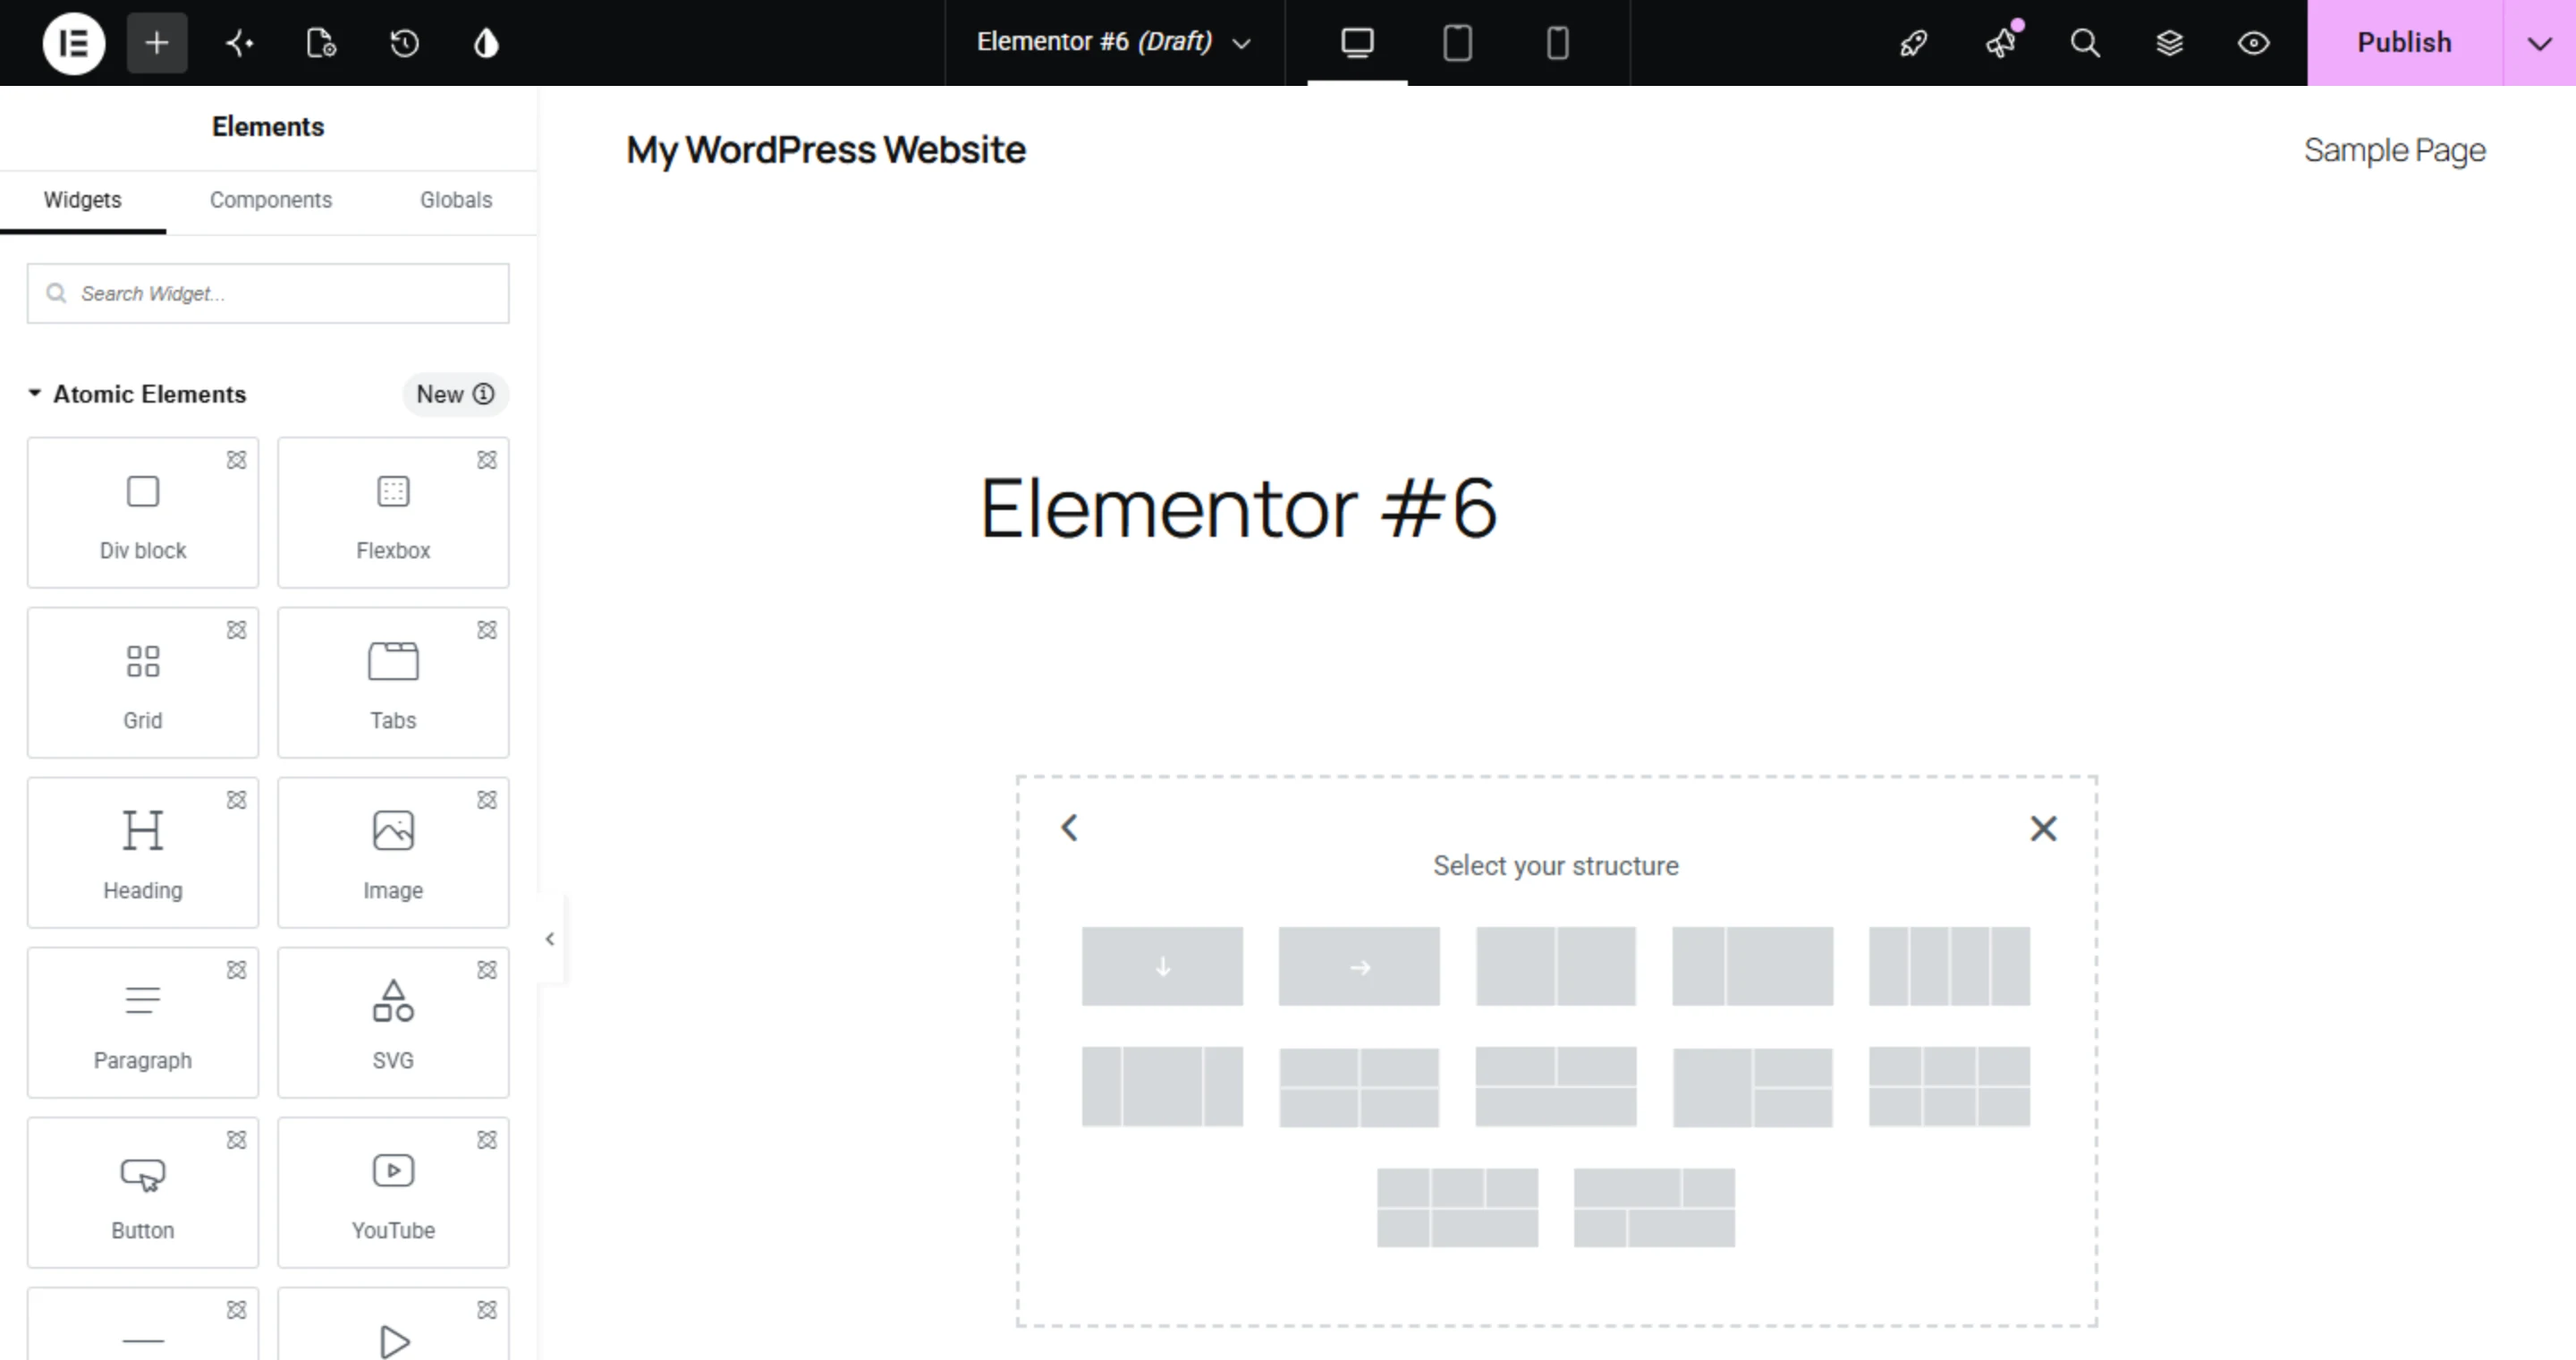
Open any page in WordPress and click the "Edit with Elementor" button. This launches the Elementor editor.
The screen splits into two parts. On the left, a panel with widgets and settings. On the right, your page preview. Everything you do on the left shows up on the right in real time.
The structure works in two layers:
Containers are the layout elements that organize your page. They use CSS flexbox (and now CSS grid) under the hood, which means you can nest them, stack them horizontally or vertically, and control spacing with precision. Think of containers as flexible boxes that hold your content. (Note: older tutorials may still reference the legacy "sections" and "columns." Containers have been the default for years now, so that is what you will be working with.)
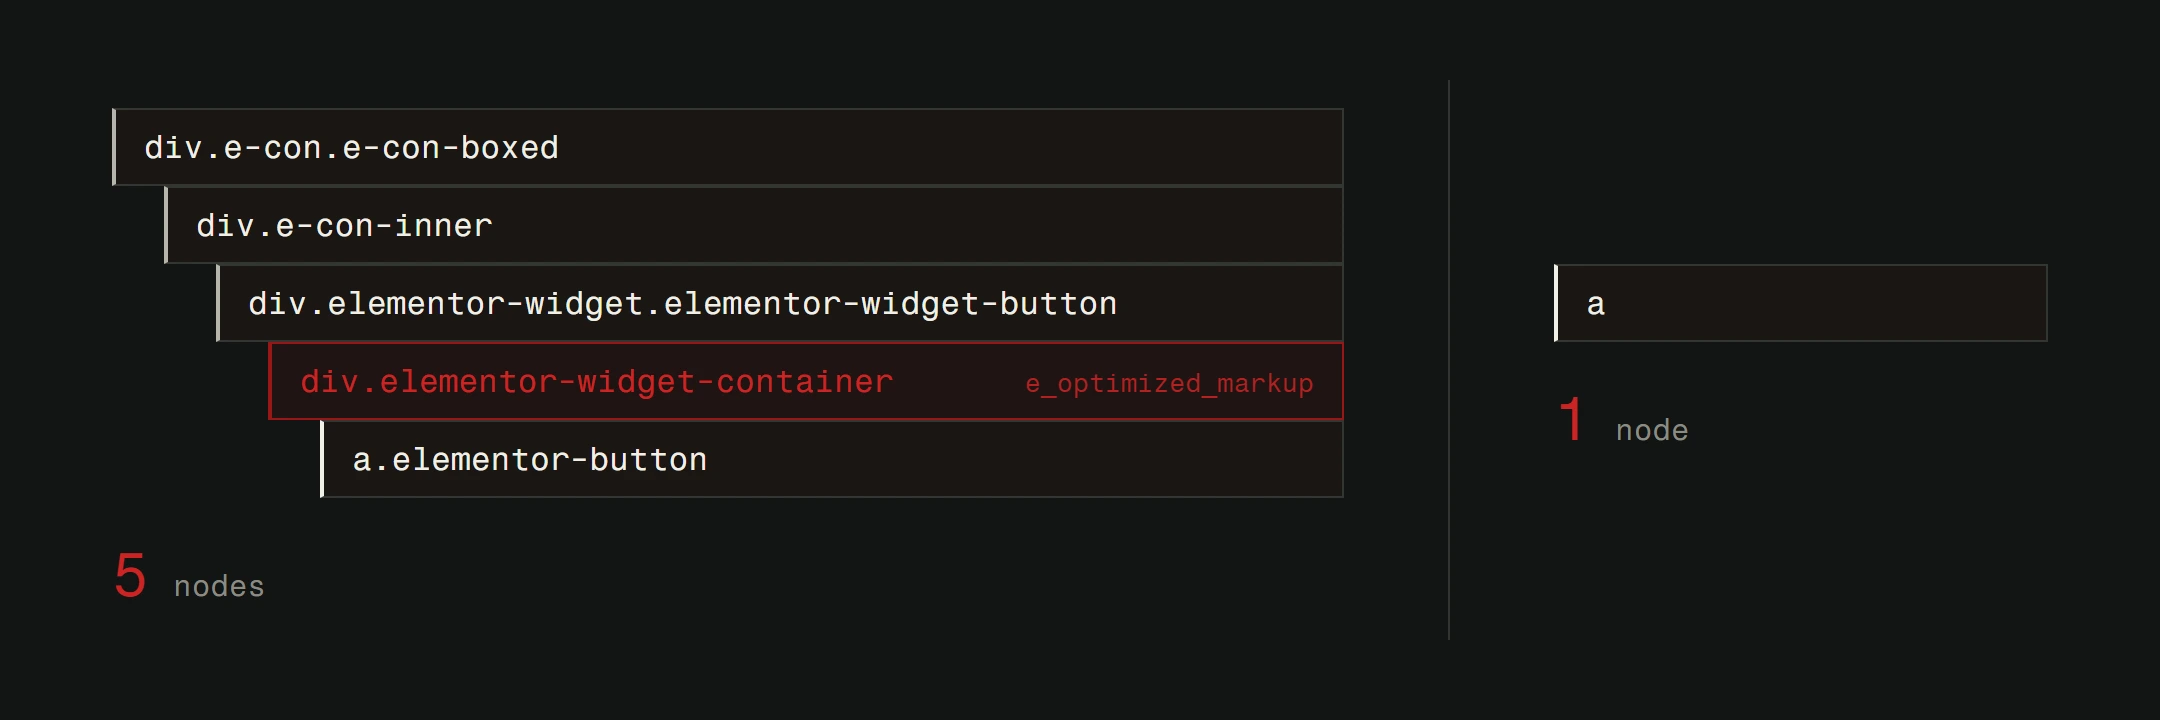
Widgets are the actual content elements. Text, images, buttons, icons, forms, videos. These go inside containers.
To build a page, you add a container, set its direction (row or column), then drag widgets into it. Simple concept, and it stays simple in practice.
Building your first page
Let's build a basic homepage. Open a new page in WordPress, click "Edit with Elementor," and follow along.
Step 1: Start with a template or blank
Elementor gives you two options. Pick a pre-built template from their library (click the folder icon) and customize it. Or start with a blank canvas and build from scratch.
For your first page, use a template. It's faster and gives you a feel for how elements are structured. You can always modify everything later.
Step 2: Edit text and images
Click on any text element in the template. The left panel switches to that widget's settings. Type your own content. Change the font, size, color, and alignment using the Style tab.
For images, click on the image widget and upload your own. Set the size and alignment. Always add alt text for accessibility and SEO.
Step 3: Adjust container layout
Click on the container handle to select an entire container. In the left panel, you can change the background color, add a background image, adjust padding and margins, and set the content width.
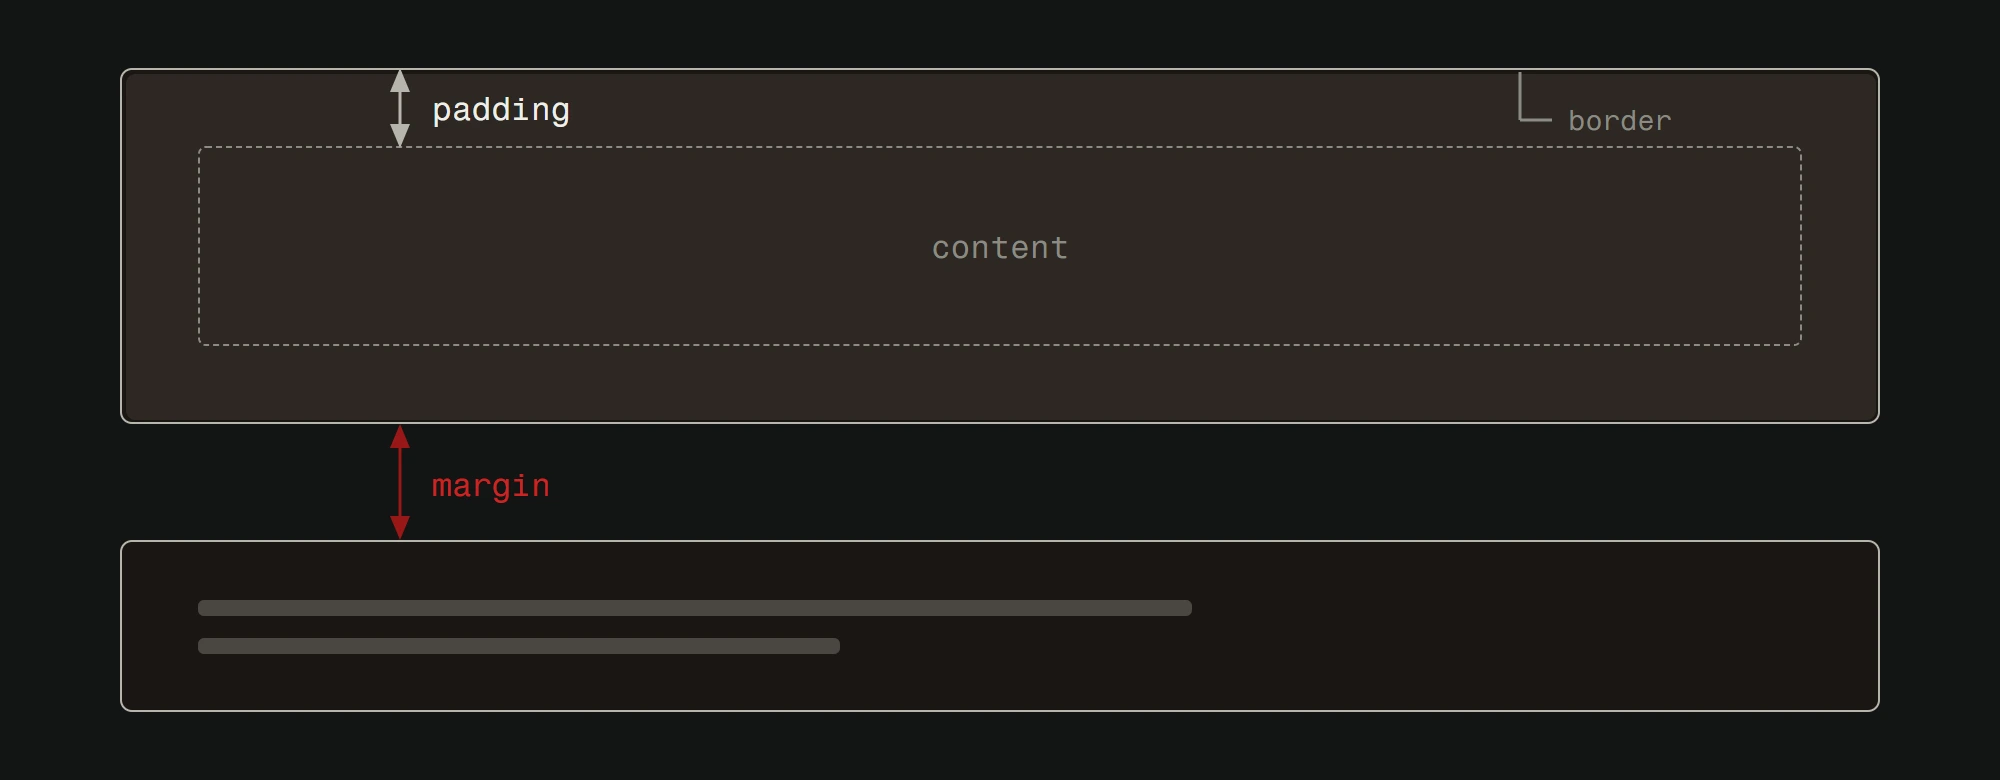
Padding is the space inside the section (between the edge and the content). Margin is the space outside the section (between it and the next section). Learning the difference between these two will save you hours of frustration.
Step 4: Check responsive views
Use the device controls in the top toolbar to switch between desktop, tablet and mobile previews. Check the page in each view.

Things that look great on desktop often need adjustment on mobile. Text might be too large. Columns that sit side by side might need to stack vertically. Images might overflow their containers.
Fix issues on each breakpoint. Elementor lets you set different values per device size for most properties.
Step 5: Publish
When you are satisfied, click Publish at the top right. Visit the page in a regular browser tab to confirm everything looks right.
Essential widgets you'll use most
Elementor has dozens of widgets. You'll use about 10 regularly.
Heading. For titles and subtitles. Use proper heading hierarchy (H1, H2, H3) for SEO. Your page should have one H1 and use H2s for main sections.
Text Editor. For paragraphs of content. Supports basic formatting like bold, italic, and links.
Image. For photos and graphics. Supports lightbox, custom sizing, and linking.
Button. For calls to action. Style the colors, add hover effects, and link to any URL.
Spacer. Adds vertical space between elements. Use sparingly. Proper padding and margin settings are usually better.
Divider. A horizontal line to visually separate content. Subtle but useful.
Icon. Individual icons from Font Awesome or Elementor's icon library. Good for feature lists.
Video. Embeds from YouTube, Vimeo, or self-hosted files. Use the lazy load option so videos don't slow your page.
Google Maps. Embeds a map. Useful for contact pages. Be aware it adds weight to your page.
Form (Pro). Contact forms, newsletter signups, and more. Only available in Elementor Pro.
Working with templates and saved elements
Templates are one of Elementor's best features. Here's how to use them effectively.
Page templates are full-page designs. Import one, replace the content, and you have a page in minutes.
Block templates are individual blocks (a hero banner, a testimonial block, a pricing table). You can mix and match these across different pages.
Saved templates are containers or pages you've built and saved for reuse. If you design a perfect call-to-action block, save it as a template and drop it into any page later.
To save a template: right-click on a container, select "Save as Template," give it a name. To use it: click the folder icon when adding a new container and go to "My Templates."
Common beginner mistakes to avoid
Using too many fonts. Stick to two. One for headings, one for body text. Every extra font slows your site. Read our guide on choosing the right font if you're unsure where to start.
Ignoring mobile. Always check tablet and mobile views before publishing. What looks good on your 27-inch monitor might be unreadable on a phone.
Overusing animations. Entrance animations are fun. But a page where every element bounces, fades, and slides in feels chaotic. Use animations sparingly and intentionally.
Not organizing containers. Use Structure (the layers icon in the top toolbar) to name your containers. "Hero," "Services," "Testimonials," "CTA." Your future self will thank you.
Skipping backups. Before making major changes, save your work. Elementor has History (the clock icon in the top toolbar), but also keep proper site backups through your hosting provider.
Performance tips
Elementor sites tend to be heavier than hand-coded sites. You can minimize the impact.
Optimize images before uploading. Use tools like TinyPNG or ShortPixel, and serve modern formats like WebP or AVIF where you can. Upload images at the size they'll display, not at 4000x3000 pixels for a 400px thumbnail.
Disable unused widgets. In Elementor settings, you can disable widgets you don't use. Each active widget loads its CSS and JS whether you use it or not.
Use a caching plugin. WP Super Cache, W3 Total Cache, or LiteSpeed Cache (if your hosting supports it). Caching dramatically reduces server load and speeds up repeat visits.
Minimize plugins overall. Every active plugin adds weight. Audit your plugin list regularly and deactivate anything you don't actively need.
These habits add up to your Core Web Vitals, the loading and stability scores Google now factors into rankings. A fast Elementor site is absolutely possible; it just takes discipline. For more on getting your site fast, our speed optimization guide covers the details.
When you've outgrown Elementor
Elementor is a great starting point. Seriously. It lets non-developers build real websites and learn what works for their business.
But there's a ceiling. When your site needs better performance, unique interactions, or fewer dependencies, custom development becomes the logical next step. WordPress itself is a strong foundation that works with or without page builders.
The pattern we see often: a business starts with Elementor, figures out what their website needs to do, and then invests in a custom build designed specifically for those needs. That's not failure. That's smart growth.
Elementor gives you a solid way to get started. When you hit the ceiling of what a page builder can offer, our web design team builds custom sites that grow with your business.